How to Add a New Product in WooCommerce: A Complete Beginner’s Guide
If you’re running an online store with WordPress and WooCommerce, knowing how to add products is a must. Whether you’re selling physical items, digital downloads, or services, WooCommerce makes it easy to manage your store.
In this guide, we’ll walk you through the exact steps to add a new product in WooCommerce, even if you’re a complete beginner.
🛠️ Don’t forget to watch our video tutorial for a visual walkthrough!
🎥 Watch on YouTube: https://youtu.be/20Uk2fni14I
Step 1: Login to Your WordPress Dashboard
To begin, log in to your WordPress admin panel. Usually, it will be yourdomain.com/wp-admin.
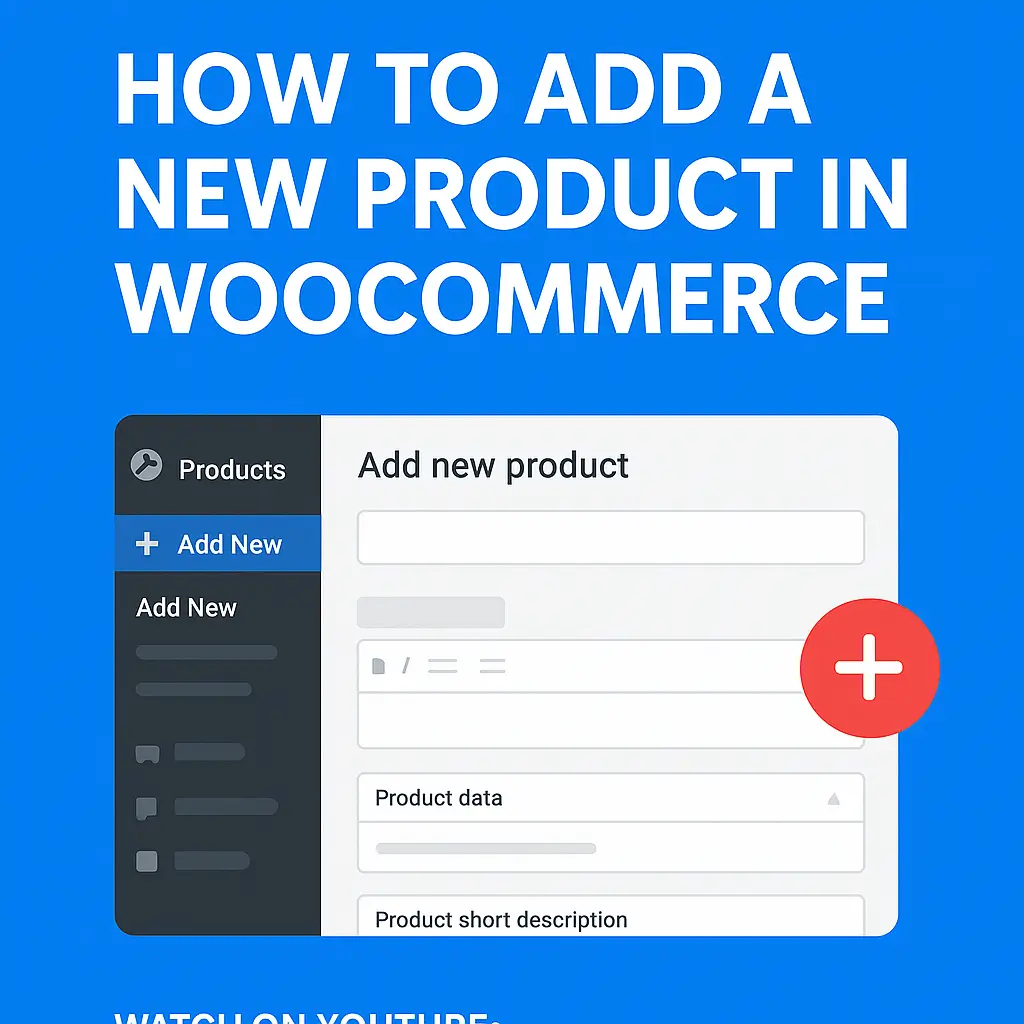
Step 2: Navigate to Products > Add New
From your dashboard:
- Hover over Products on the left-hand sidebar.
- Click Add New.
You’ll be taken to the product creation screen.
Step 3: Enter Product Title and Description
At the top:
- Add a Product Title – this is the name of your product.
- Add a Product Description in the large content box – this will appear on the product page.
Make it detailed and informative to help convert visitors into customers.
Step 4: Configure Product Data
Scroll down to the Product Data section.
You can choose product type from:
- Simple Product
- Grouped Product
- External/Affiliate Product
- Variable Product
For a basic product:
- Keep “Simple Product” selected.
- Set the Regular Price and Sale Price if applicable.
- Use the Inventory tab to manage stock.
- Use the Shipping tab to add weight, dimensions, and shipping class.
Step 5: Add Short Description
Scroll a bit further to find the Product Short Description field. This appears next to the product image and is great for a summary.
Step 6: Add Product Images
On the right sidebar:
- Set a Product Image (main image).
- Add Product Gallery images (additional photos).
Use high-quality images for better user experience and trust.
Step 7: Organize with Categories and Tags
- Assign your product to an existing Category or create a new one.
- Add relevant Tags to improve searchability.
Step 8: Publish Your Product
Once everything looks good:
- Click the blue Publish button.
Your product is now live on your WooCommerce store!
Conclusion:
That’s it! You’ve successfully added a new product to your WooCommerce store. With just a few simple steps, you can expand your product catalog and grow your business.
For a visual guide, make sure to watch our step-by-step YouTube video tutorial below. It’s perfect for beginners who prefer to learn by seeing.